Steam integration
DZGUI can be added to Steam as a “non-Steam game” in order to facilitate integration with Steam Deck or desktop environments.
First, launch Steam in the Large (default) view.
Attention
Steam Deck users: Gaming Mode has limited support for configuration of custom games. You will need to switch to Desktop Mode in order to add a non-Steam game.
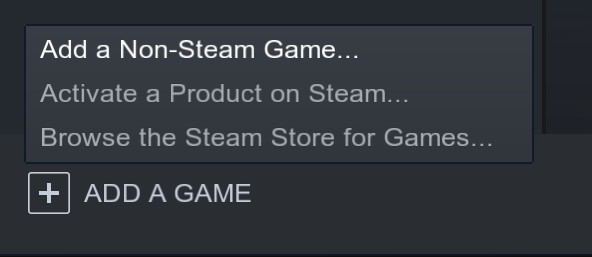
Select Add a Game > Add a Non-Steam Game from the bottom left corner of the Steam client.
Navigate to $HOME/.local/share/applications and select dzgui.desktop.
Select Add Selected Programs to add a shortcut to DZGUI.
Artwork
DZGUI ships with custom artwork that provides various cover/splash images to allow it to integrate with the rest of your games library.
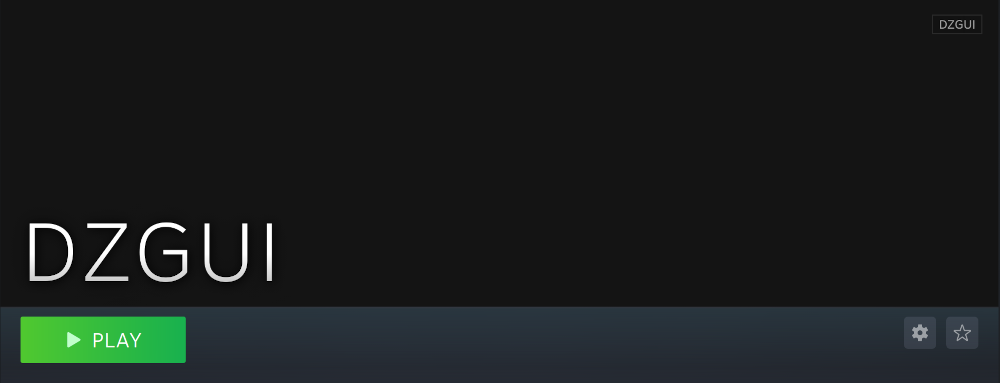
From the main library view, navigate to the app’s details page and right-click the blank image header at the top.
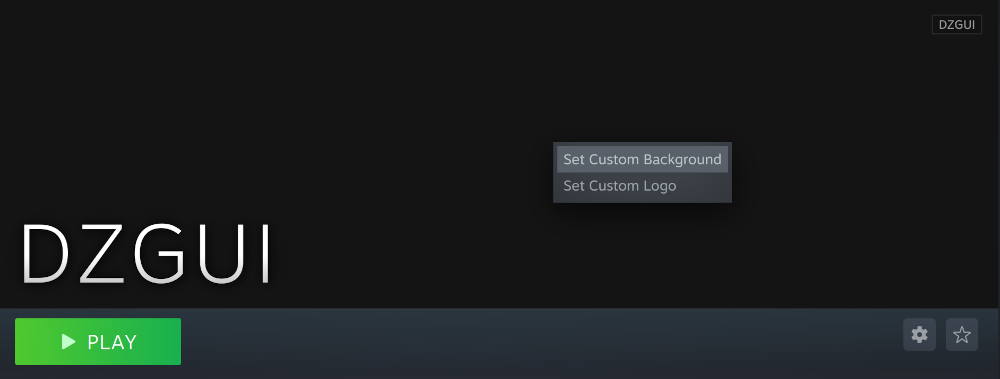
Select Set Custom Background
Select to display All Files from the File type dropdown
Navigate to $HOME/.local/share/dzgui and select hero.png.
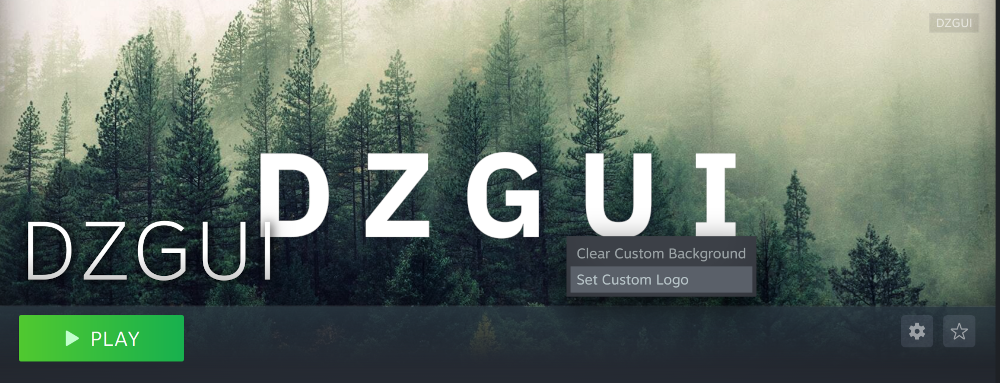
Next, right-click the image background and select Set Custom Logo.
Navigate to $HOME/.local/share/dzgui and select logo.png.
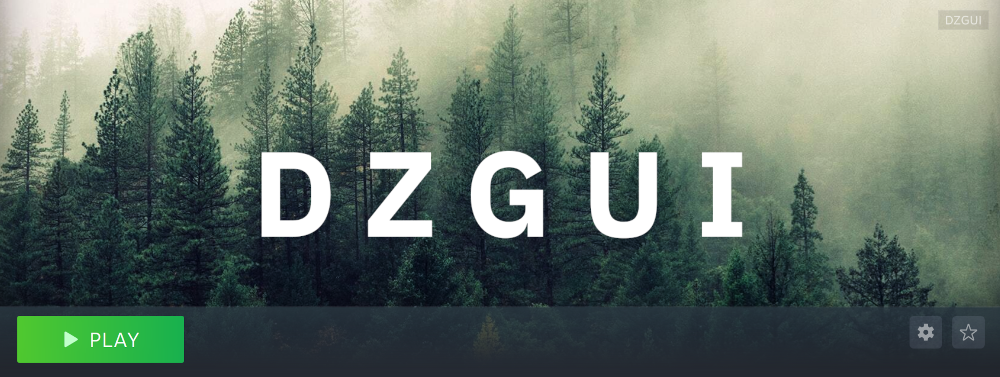
Notice that this removes the redundant app name that occluded the image, as seen above.
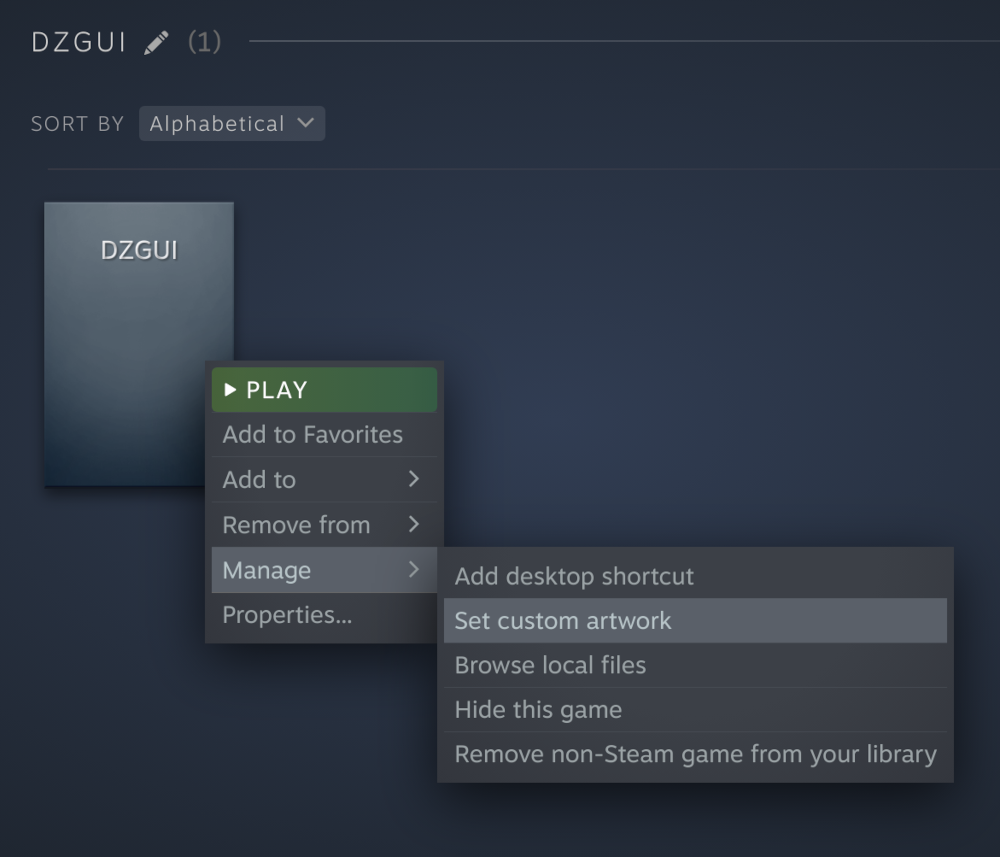
Next, navigate to your Library index (looks like a bookshelf of cover art) and find the DZGUI app.
Right-click its cover and select Manage > Set custom artwork.
Navigate to $HOME/.local/share/dzgui and select grid.png.
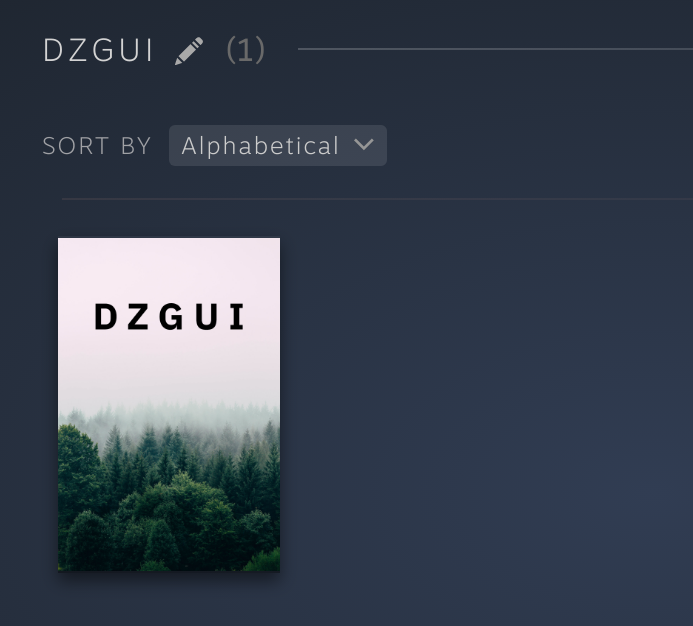
The final result will create box art looking like the above.
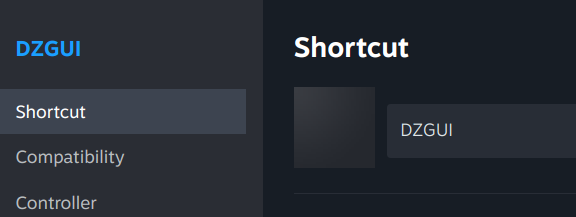
Next, right-click the DZGUI entry in your Library and select Properties to open the properties dialog. Next to the Shortcut field, you will see a small square box which represents the game’s
icon. Click this to open a file explorer, navigate to $HOME/.local/share/dzgui, and select icon.png. This will add a small icon to the list view.
Finally, after you launch DZGUI for the first time, you should quit the application and return to the Library view. Select the Recent Games dropdown on the right-hand side.
Steam shows a collection of box art based on categories like “Play Next”, “Recent Games”, etc. Look for a downward-pointing caret icon and click it, then select the Recent Games category.
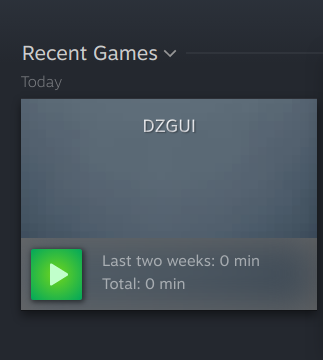
If DZGUI was the last item played, it will be shown with a landscape, rather than portrait, orientation cover, which is initially blank.
To customize this cover, right click it and select Manage > Set custom artwork, navigate to $HOME/.local/share/dzgui, then select hero.png.